Cognitive puzzles have always intrigued and challenged our minds, pushing us to think outside the box. Today, we have an interesting brain teaser featuring fried eggs with an unknown number in one corner. The big question is: What number should replace the question mark?
At first glance, this puzzle might seem straightforward, but many people struggle to find the correct answer. Let’s break it down step by step, analyze common mistakes, and finally arrive at the right solution.
Try to Solve It First!
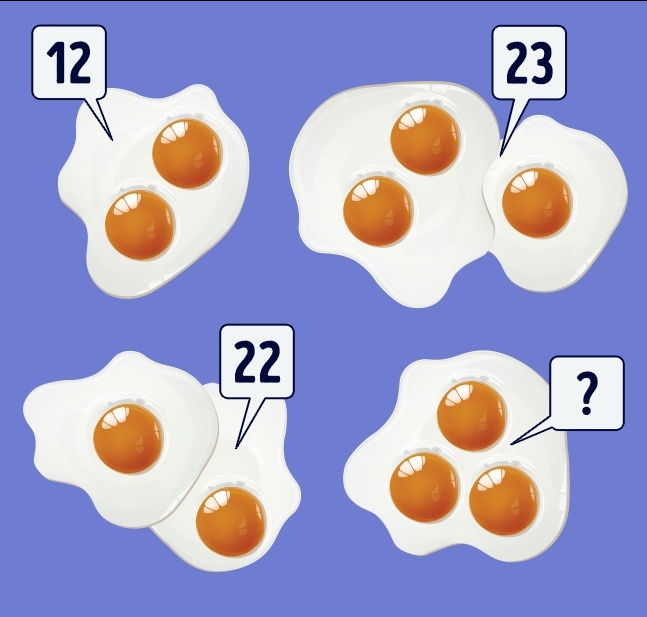
Before we dive into the solution, take a moment to analyze the image. Each fried egg pair or grouping has a number next to it, except for the last one. Your challenge is to figure out the pattern behind these numbers and determine the missing value.
So, what’s your answer? 12? 24? Something else? Let’s see if you’re right.
Common Mistakes People Make
Puzzles like this often trick people into seeing patterns that don’t actually exist or missing key details. Here are some common mistakes:
- Assuming the numbers represent the total number of yolks
Many people assume the number is simply the count of yolks in each grouping. However, if that were the case, the values would be 2, 3, 2, and 3—this doesn’t match the numbers given. - Thinking the numbers count the number of egg whites
Some might assume the numbers are based on the number of egg whites. However, we see cases where eggs are overlapping, making this unreliable. - Overcomplicating the pattern
Some puzzle solvers jump straight to complex mathematical operations before checking simpler patterns.
If you made one of these mistakes—don’t worry! Now let’s walk through the correct method to solve this.
Video : Which Number Replaces The Question Mark ??
Step-by-Step Solution: Finding the Pattern
Let’s examine the numbers given: 12, 23, and 22. Each number corresponds to a different grouping of eggs. But what do they mean?
Step 1: Count the Yolk Pairs and Their Positioning
Looking closely at each plate, we see that:
- 12 → Two yolks in one egg white.
- 23 → Three yolks in one egg white + two yolks in another egg white.
- 22 → Two yolks in each of two egg whites.
From this, we see that the numbers are NOT just counting yolks or egg whites alone.
Step 2: Understanding the Number Formation
Observing the pattern, the first digit of the number corresponds to the number of yolks in the first egg, and the second digit corresponds to the number of yolks in the second egg.
- 12 → (1 yolk in the first egg, 2 yolks in the second egg)
- 23 → (2 yolks in the first egg, 3 yolks in the second egg)
- 22 → (2 yolks in the first egg, 2 yolks in the second egg)
Step 3: Identifying the Last Number
Now, let’s apply this pattern to the final grouping, which contains 3 yolks in one egg white and no additional egg.
Following the same rule, the first digit is 3 (yolks in the first egg), and since there is no second egg, we assume the second digit is 1.
Thus, the missing number should be 13.
Final Answer: 13
After carefully analyzing the pattern, we conclude that the correct number to replace the question mark is 13. The first digit represents the number of yolks in the first egg, and the second digit represents the number of yolks in the second egg.
Did you get it right? If not, don’t worry! The key takeaway is to pay attention to patterns rather than just counting random elements.
Video : Egg Riddles
Join the Discussion!
Did you find a different pattern? Do you enjoy solving logic puzzles like this one? Share your answers and thoughts in the comments below!
If you liked this challenge, try tackling more puzzles to sharpen your logical thinking and pattern recognition skills. The more you practice, the better you get at spotting hidden patterns and solving tricky problems quickly.
So, what are you waiting for? Test your brain with another puzzle today!
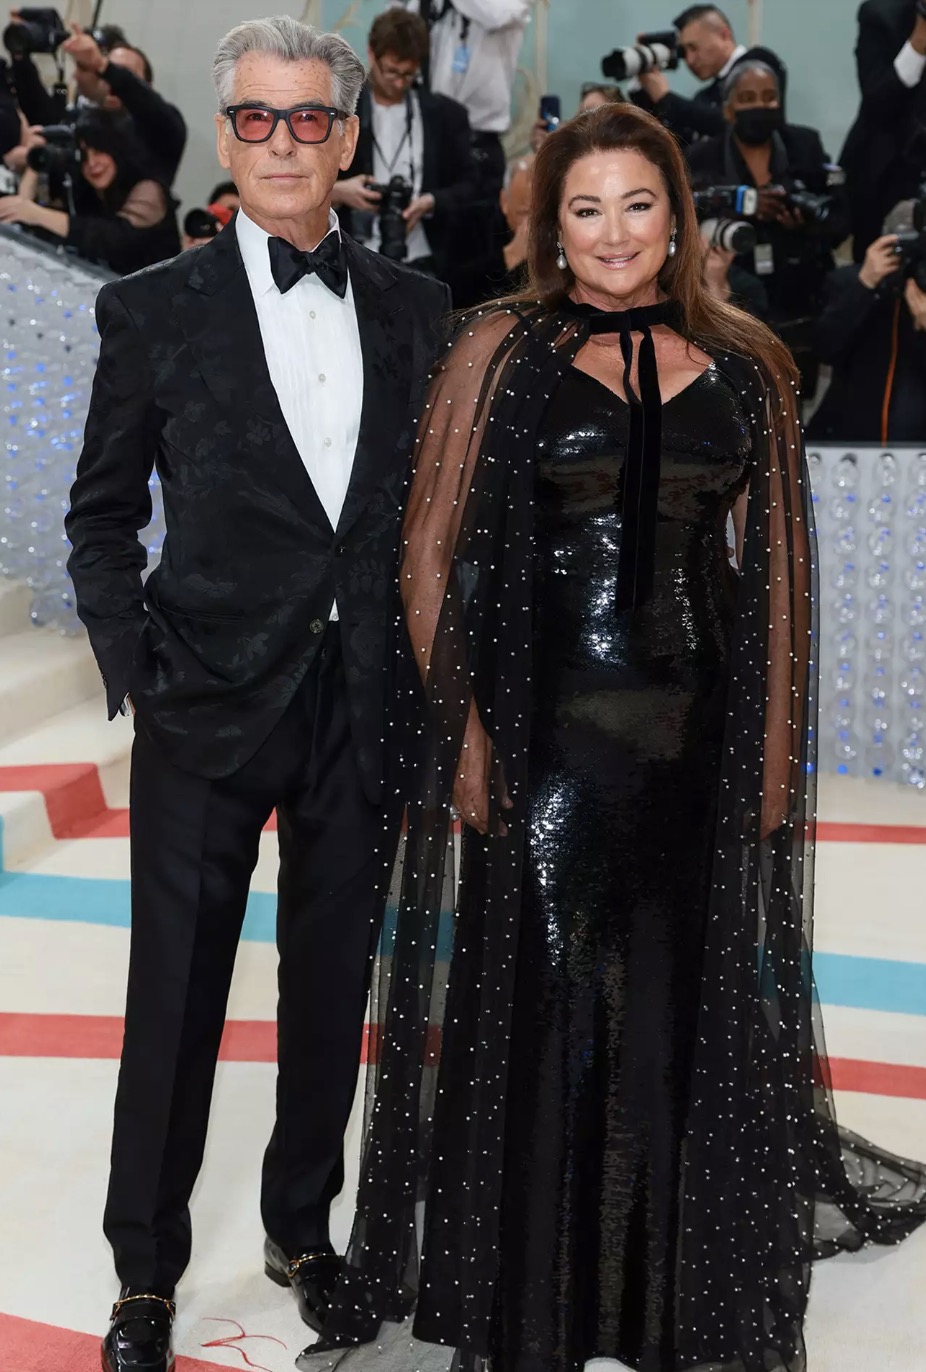
This Lady Is Married To One Of The Most Beautiful Actors In The World
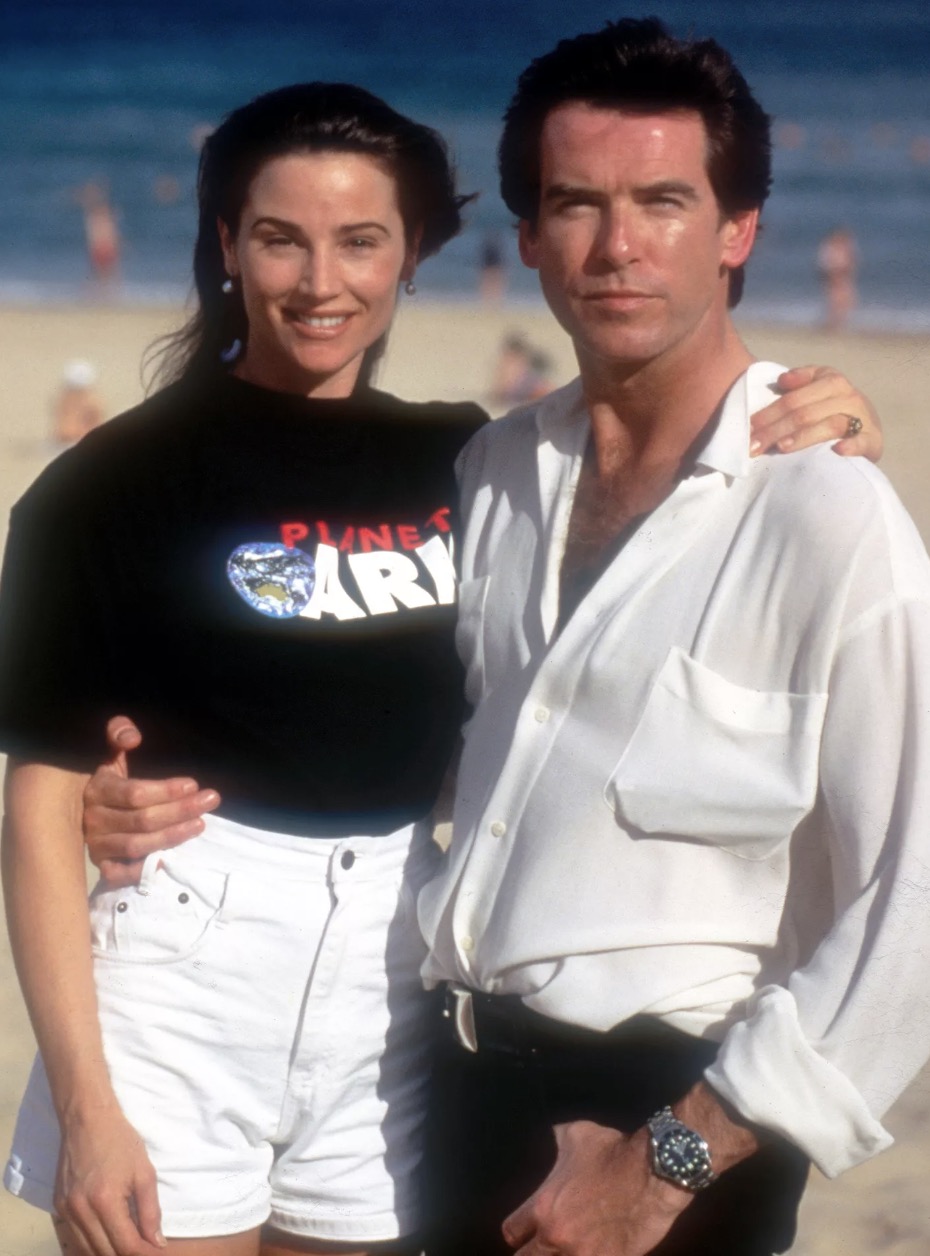
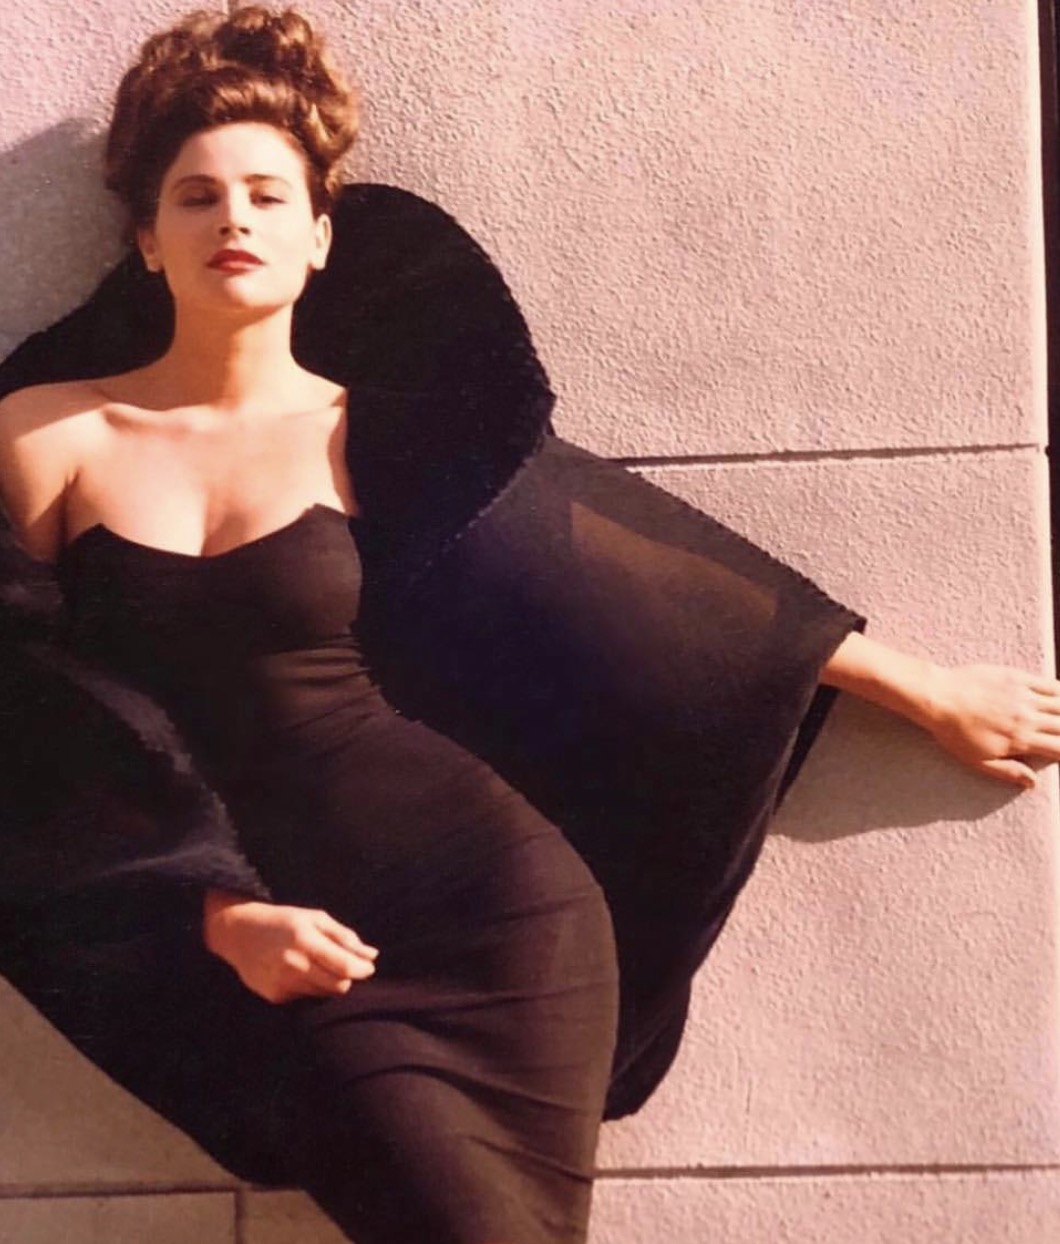
It’s just that by now, we’re used to seeing certain Hollywood romance tropes repeatedly.There are the young, cute couples who aren’t shy about promoting their blossoming romance on social media; the co-stars who have secret on-set affairs while being probed for adultery; and the old man in his sixties or seventies who is openly romancing a young, gorgeous woman half his age.We observe these paradigms without questioning them and come to accept them as the standard.Pierce Brosnan’s professional contemporaries, along with the general public, assumed he would finish dead last in this competition.Despite being a good fit, he boldly and creatively disproved all the assumptions being made about him.He’s been married to Keely for twenty years, and they’ve been together long enough to start a family.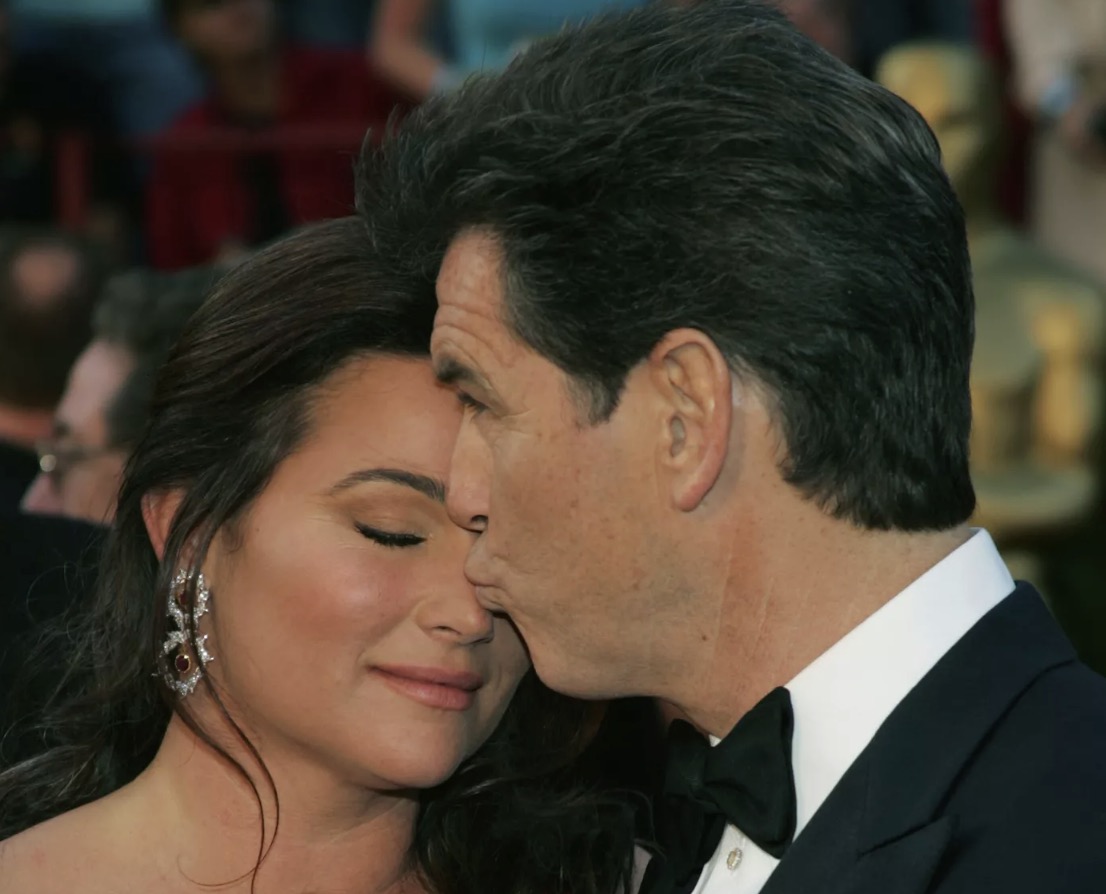 Their journey has been as romantic and passionate as anyone could have hoped, but poor Keely has been the target of unjustified and terrible hatred as of late.Thankfully, Pierce managed to hold out. He defended his wife in front of the public and showed her how much he loved her despite the criticism. His actions lead us to the following conclusions:Pierce, contrary to popular opinion, “loves every curve” of his wife’s body.In 1994, Pierce met American journalist Keely Shaye Smith for the first time. His first wife Cassandra Harris died of ovarian cancer on December 28, 1991.Pierce, who was left to raise three children on his own, was naturally distraught by her death and unsure of where to begin the healing process.
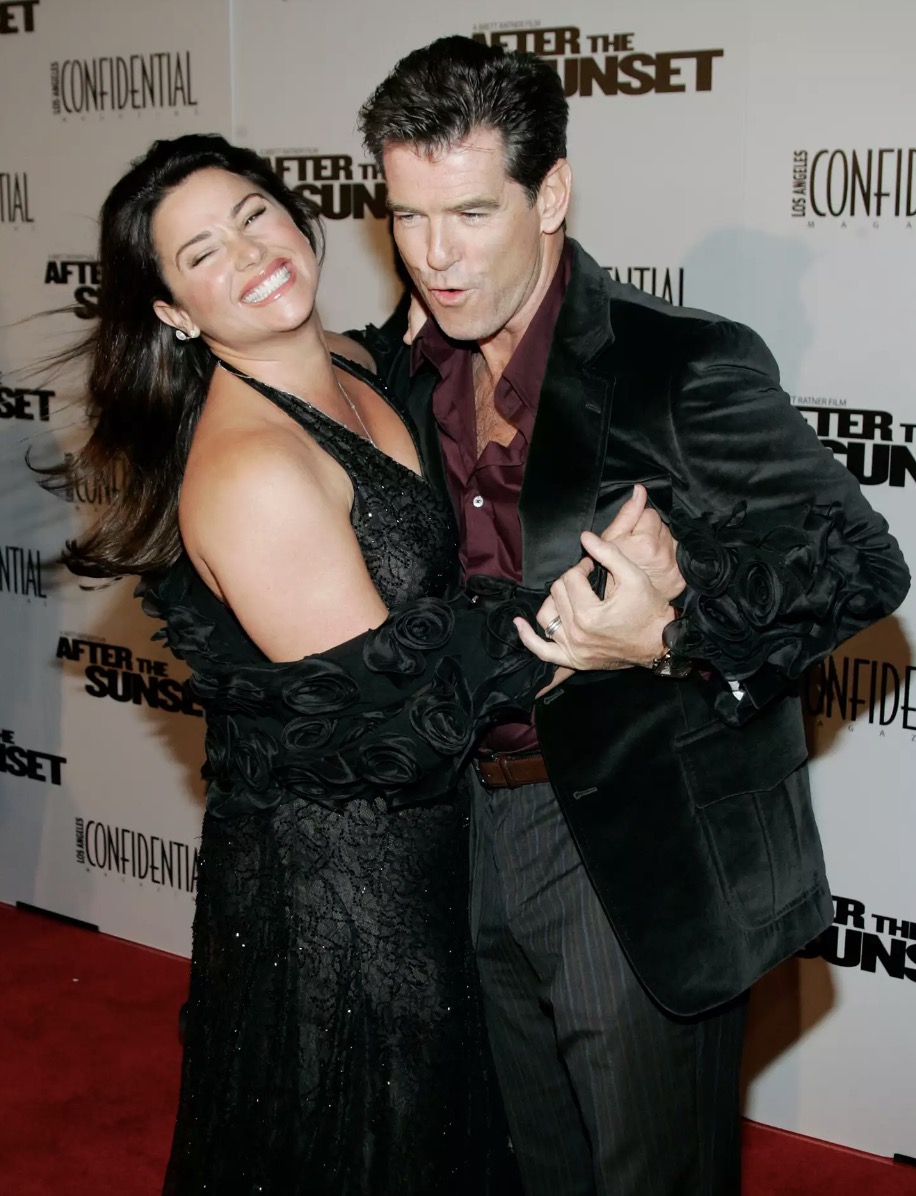
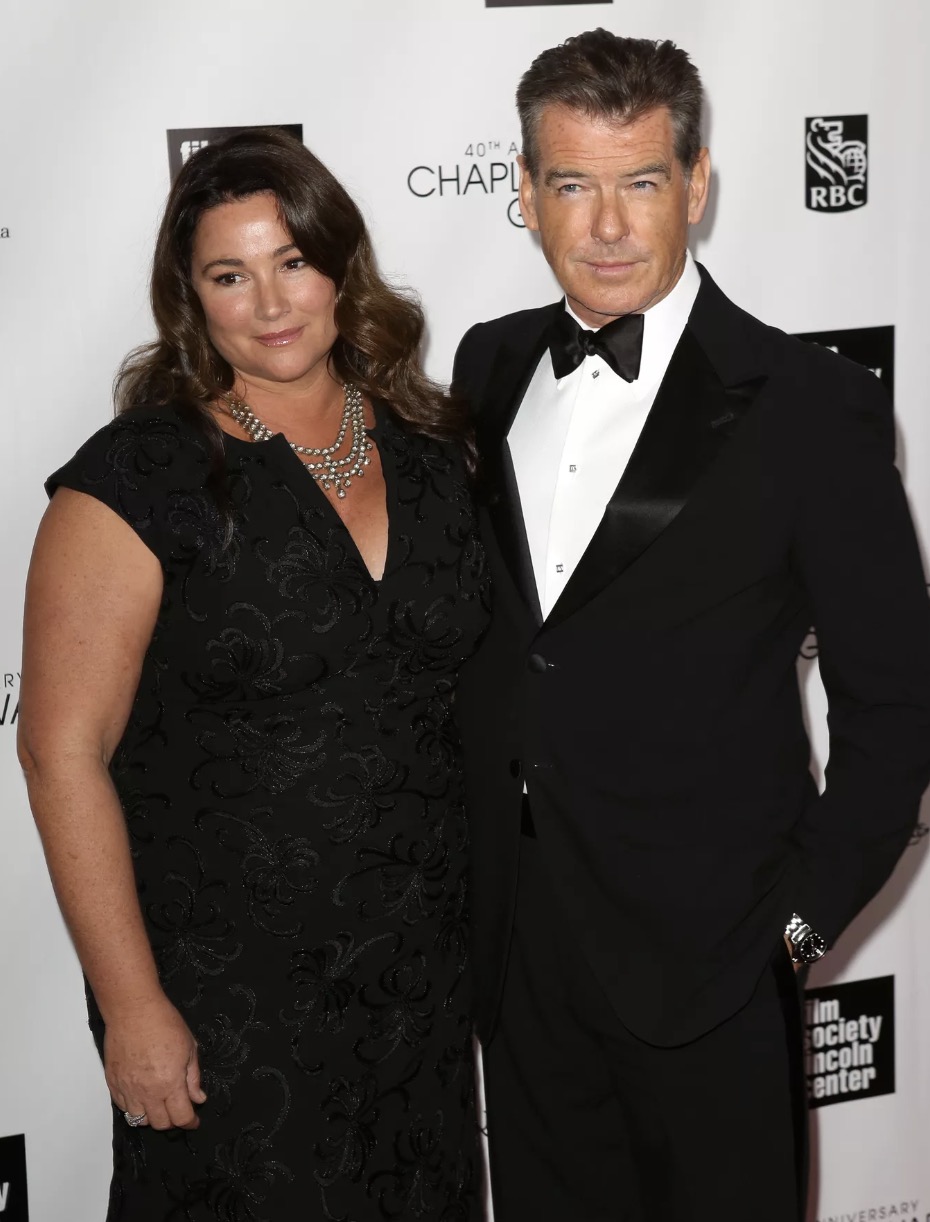 Having Keely in his life at the proper time gave him the boost he needed to embark on the challenging, yet rewarding, role of motherhood.“Her friends offered her weight-loss surgery. However, I adore every curve in her physique. She is the most beautiful woman in my eyes. Additionally, she gave birth to our five children,” says Pierce Brosnan.They adopted Pierce’s two boys, Dylan and Paris, and tied the knot in 2001 in Pierce’s homeland.They’ve been together for twenty wonderful years, and their love for one another has only deepened in that time.Last week, Pierce gave his wife a touching 20th anniversary letter in which he wished her “Happy anniversary my dear Keely, my love forever increases with you” and included two photos of the couple taken 20 years apart to illustrate the wonderful development of their relationship.
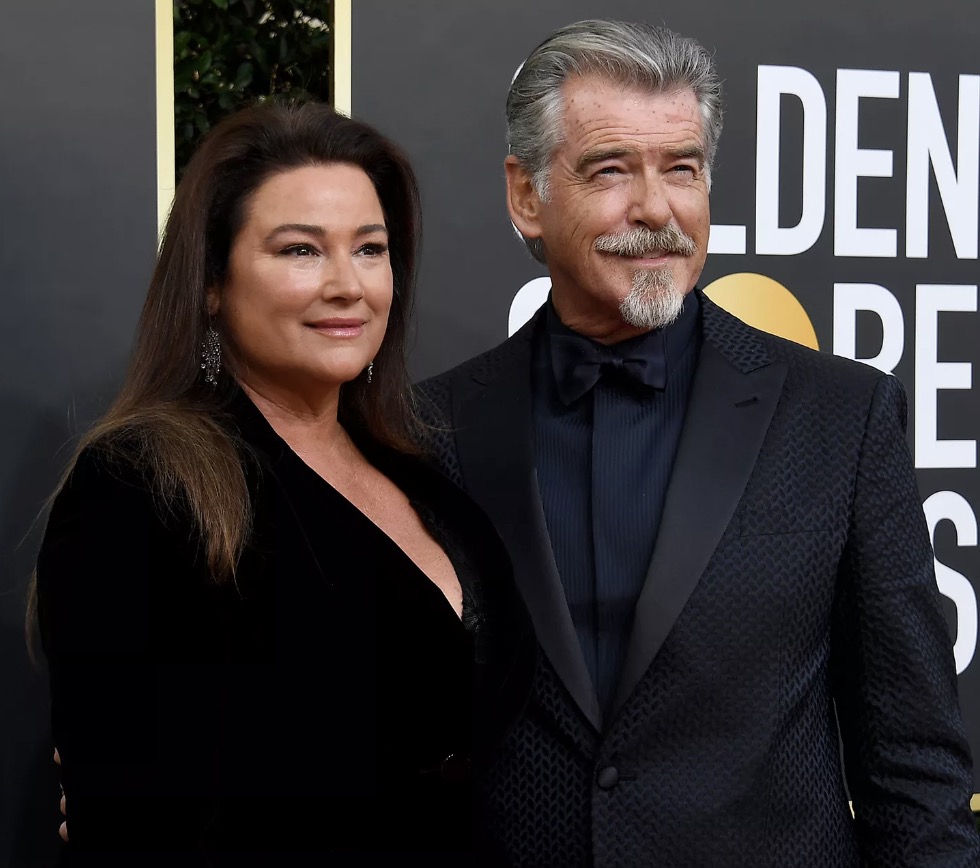 The public constantly seems to find something negative to say about the couple, even though there is no reason for them to do so.The hostility seems to be directed towards Keely’s physical appearance, especially her weight. The public at large appears to be startled and outraged.Pierce’s mistake was to marry an idealized version of his own age and physical attractiveness.Someone who doesn’t fit the size 0 mold and has a normal body type rather than looking like a bombshell If he is so wealthy and powerful, why does he choose to marry a common woman who is apparently below his social status?His feelings for her invalidate sexist views on the value of women.It’s easy to forget that one might defy beauty standards by putting on weight. No one forces you to exist in a society where your success is measured by how well you blend in and howlittle of an impact you have on those around you.Growing older means prioritizing different things, and you could find that you no longer need validation from others to feel secure in yourself.Pierce has said that he likes Keely more for who she is than for how she looks.If you’re serious about someone, you’ll be willing to change as they do and adapt your views as they develop.
If love were simple, we wouldn’t have spent millennia trying to figure it out.
Pierce revealed in an interview that several of their acquaintances had suggested that his wife get weight loss surgery, but the former James Bond is unwavering in his admiration for her in spite of her size.
He is completely indifferent to the idle rantings of internet strangers about his girlfriend’s body, which he likes in all its imperfect glory.
Pierce went out of his way to say that he has always had a thing for Keely because of her sweet nature and generous spirit.
“In the past, I actually loved her for her person, not simply for her beauty, and now I’m loving her even more that she is my children’s mother, and I am extremely proud of her, and I always aim to be worthy of her love,” he stated on Hollywood Star.
Pierce has no right to defend his desire for her after 20 years or even to reply to the insult.
But it’s so sweet to watch an elderly couple show their love for one another.
Pierce’s decision to stay with the same woman and continue their relationship stands out as oddly defiant because it is so common for older Hollywood superstars to get connected with attractive, young ladies who are around thirty years their junior.
It once again calls attention to the excessive expectations placed on women’s bodies and appearances; women are told that they must never “let themselves go” and that they must constantly be more gorgeous than men in order to “deserve” love. Any time they act out of character, they give guys carte blanche to pursue other women.

Pierce values his wife more for the role she has played in his life than for her physical attractiveness.
She pulled him out of his despair, allowing him to develop and find his place in a harsh and unforgiving world. It’s not unexpected that the couple is still going strong.
In the face of criticism, love has no chance.
When it comes to their commitment to one another, Keely and Pierce don’t give a hoot about what others think.
As you become older, you realize that it’s not principles but rather a shared understanding of the world and each other that sparks attraction and desire.
When you spend time with someone, it’s not just because they make you feel good physically; it’s also because you wouldn’t want to be with anybody else.
It doesn’t mean you can’t fall in love with them again; it just means you appreciate them beyond their physical looks and traditional standards of beauty.
Pierce’s love for Keely demonstrates that one need not care what others think.


Leave a Reply